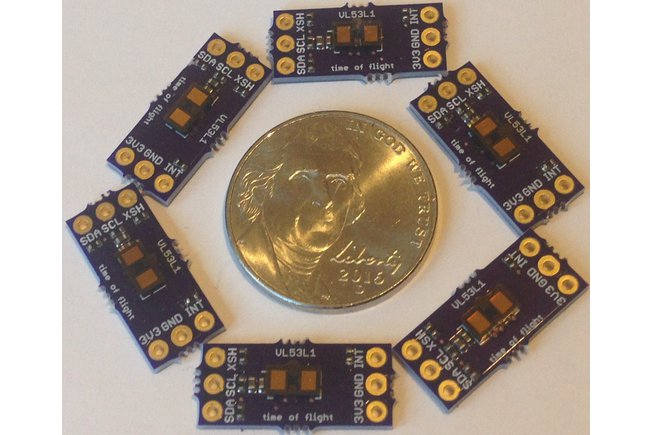
A year after announcing it, ST has finally released the new version of its tiny laser time-of-flight distance sensor with twice the range of the previous version. Called the VL53L1 (the previous version was the VL53L0), it’s available in chip form for $5 and in a breakout board from Tindie for $19 or a nicer one with connectors and mounting holes from Sparkfun for $25. These are chips originally designed for proximity sensors for smartphones (that’s how the phones can tell if you’re holding them up to your ear and dim/turn off the screen), and are very reliable. The claimed range is up to 4m indoors (up from 2m with the previous version), and since it’s a laser it has a very narrow beam (unlike sonar) and is appropriate for obstacle detection in DIY Robocars.
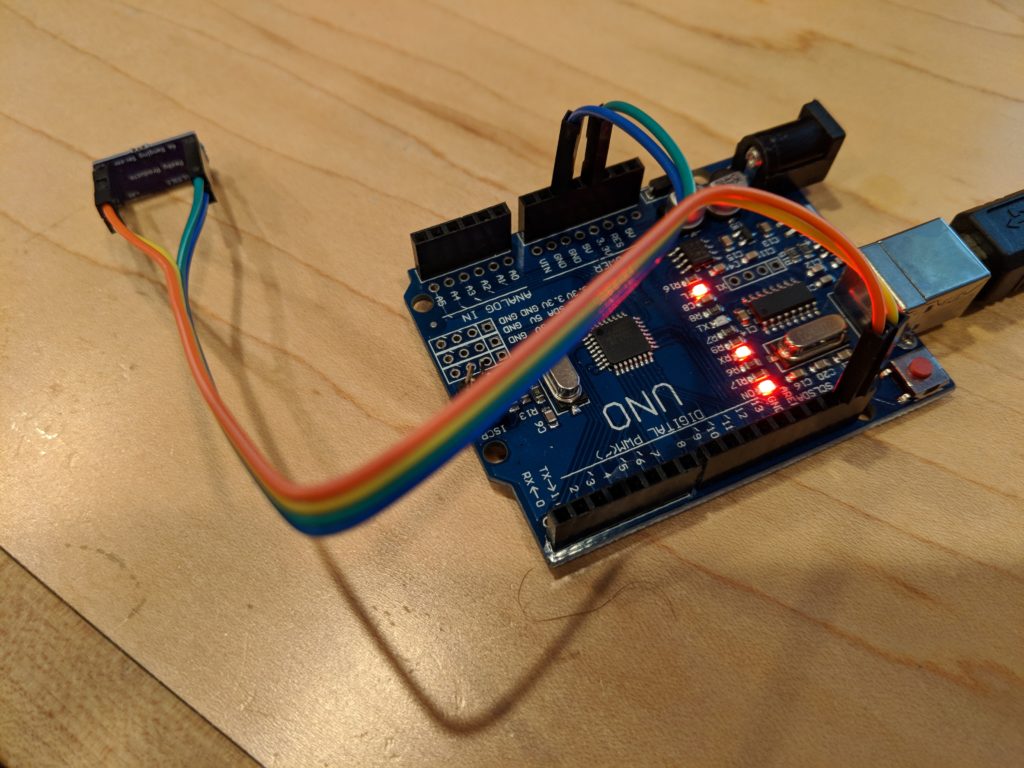
Sparkfun has just release an Arduino library for it, and the example code works well with both the Sparkfun and Tindie versions. If you want to try it, just connect either breakout boards SCL and SDA pins to the Arduino SCL and SDA pins and the voltage to the Arduino’s 3.3v pin and GND, as shown here:
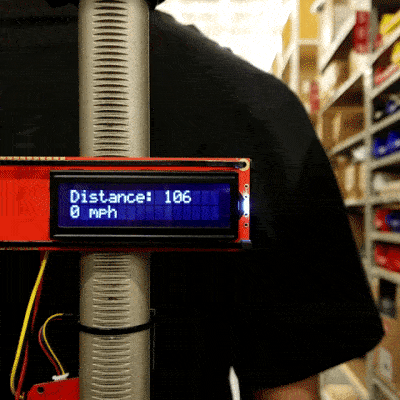
In my testing so far, I’m only getting reliable reading up to 2.3m (7.5 feet), but there are some special high-power settings that you can enable, although they are not yet supported in the Sparkfun library. That said, that’s more than enough for 1/10th scale robocars indoors, and is far more accurate than the broad-beam sonar or IR sensors that would otherwise be used for low-cost obstacle detection.
Outdoors, it’s pretty much useless, especially in bright sunlight. Expect no more than 1m outdoors even in the shade, so I’d recommend a different sensor such as sonar or a somewhat more expensive 1D lidar like the TFMini ($40) for that.
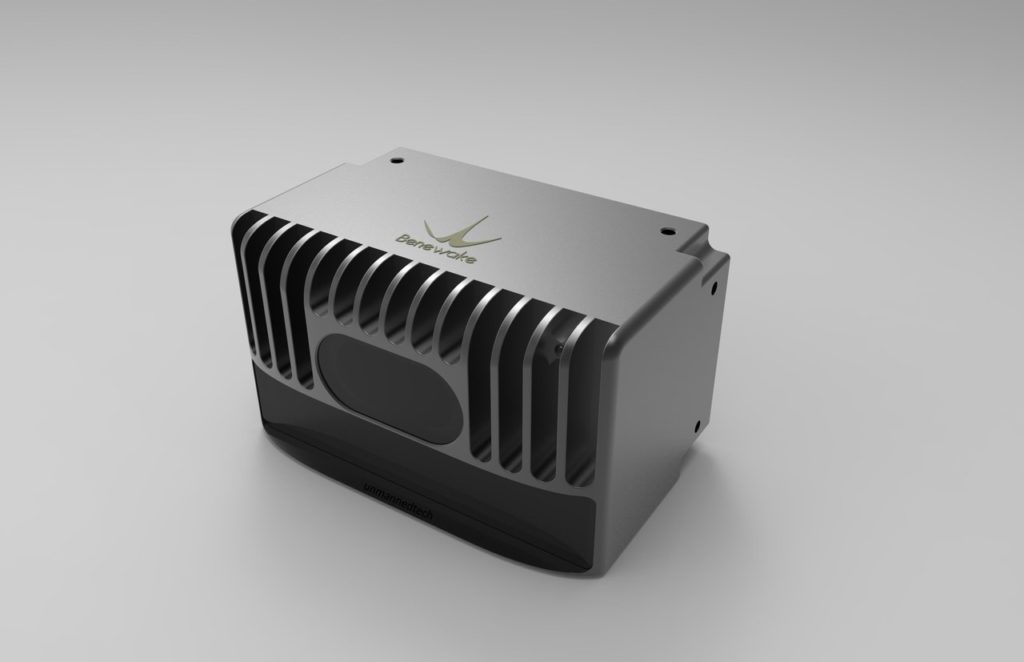
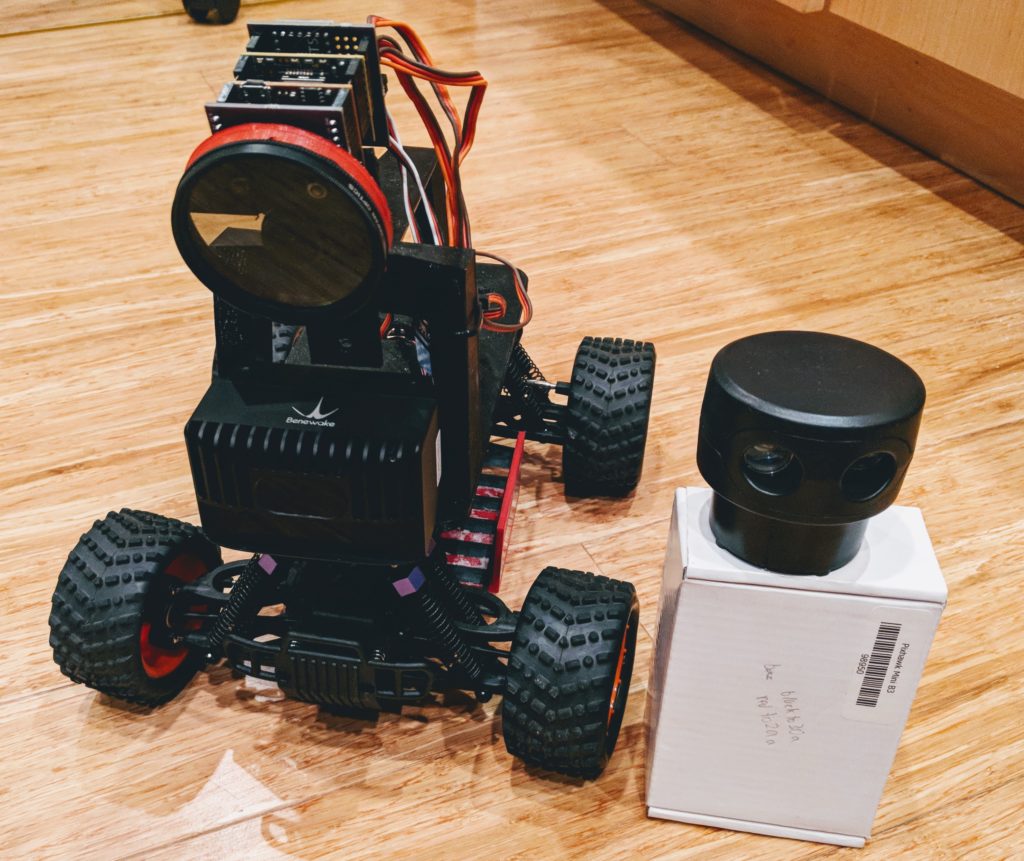
The era of small, cheap (sub-$1,000) Lidar is upon us, but it’s still a bit in its teething stage. In this post, I’ll give some initial hands-on impressions of one of the first solid-state 3D (actually closer to 2.5D) Lidars to hit the market, the Benewake CE30 series, which has just been released.
Unlike the other Lidars I’ve been using, such as the RP-Lidar A2/A3 series and (now discontinued) Scanse Sweep, which are rotating 2D Lidars (just viewing a thin horizontal disc around themselves), the CE30 has no moving parts and has both horizontal and (limited) vertical scanning (132° horizontal and 9° vertical), as well as an impressive 4m-30m range (depending on which version you get) as well as an excellent 20Hz refresh rate. That’s perfect for small autonomous cars like ours — solid state means nothing to break in a crash, and having a vertical as well a horizontal sweep means that we can see obstacles from ground level to above the car.
Initial testing confirms the 4m range, dropping to about 3.5m in bright sunlight outdoors, which is quite good.
Official pricing ranges from less than $1,000 to $1,500, depending on the version, but at volume they’ll be available for $400-$500. If you want to buy one now in single units, you can find them on Roboshop: the CE30-A (USB version) is currently $999, the CE30-C (ethernet version) is $1,195 and the CE30-D (long range) is $1,499.
Here’s a table that shows how they compare:
CE30-A
CE30-C
CE30-D
Max range
4m
4m
30m
Interface
USB/CAN
Ethernet
Ethernet
Notes
Only obstacle detection
Point cloud, no built-in obstacle detection
Point cloud. 4mm larger in width and height
Typical single-unit price
$800
$1,000
$1,500
Size-wise, it’s about the same size as the 2D Lidars, which is to say just right for our cars. (It’s shown above mounted on a Donkeycar, next to a Scanse Sweep for comparison).
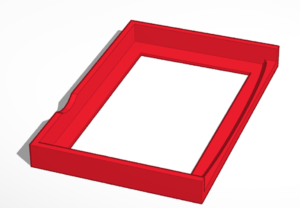
I’ve posted a mount for it here, which you can 3D print for your car:
Here’s a screen-capture of the sort of data it provides (me in my workshop waving my arms like a dork). The top window is the uncorrected depth map and the bottom window is a top-down view.
The software support is still pretty minimalistic: a Windows demo program (shown above) and C++ libraries for Windows and Linux (including ROS). The Linux library is designed for x86 computers and won’t compile on a RaspberryPi (which is ARM-based) yet, but Benewake says that compatibility is coming soon. Stay tuned while I wait for that — I’m particularly interested in the built-in obstacle detection mode of the CE30-A, but want to run it on the RPi.
[Update: CE30-C Python code that runs on RaspberryPi is here. CE30-A Python code is here]
One of the tricky things if you’re using the CE30-C (ethernet interface) with a RaspberryPi is figuring out how to talk to the Lidar on Ethernet at the same time you’re connected to the Internet (or another network) over Wifi. After a lot of research and asking around, I finally figured it out. Raspian (the RaspberryPi Linux distro) has been changing its networking configuration process with each version, which makes it hard to find reliable tutorials online, but for the latest version (Raspian Stretch), edit your etc/dhcpcd.conf file to include these two lines:
This will assign your Ethernet port to the CE30, while leaving your Wifi adapter free to connect to your regular Wifi network.
Needless to say, if you opt for the USB version (CE30-A) you don’t need to deal with this — it just shows up as a serial port.
Finally, here’s Benewake’s promotional video that shows what these Lidar’s are really designed for.
Next post will be after I get the software up and running in an autonomous car stack. But so far so good!