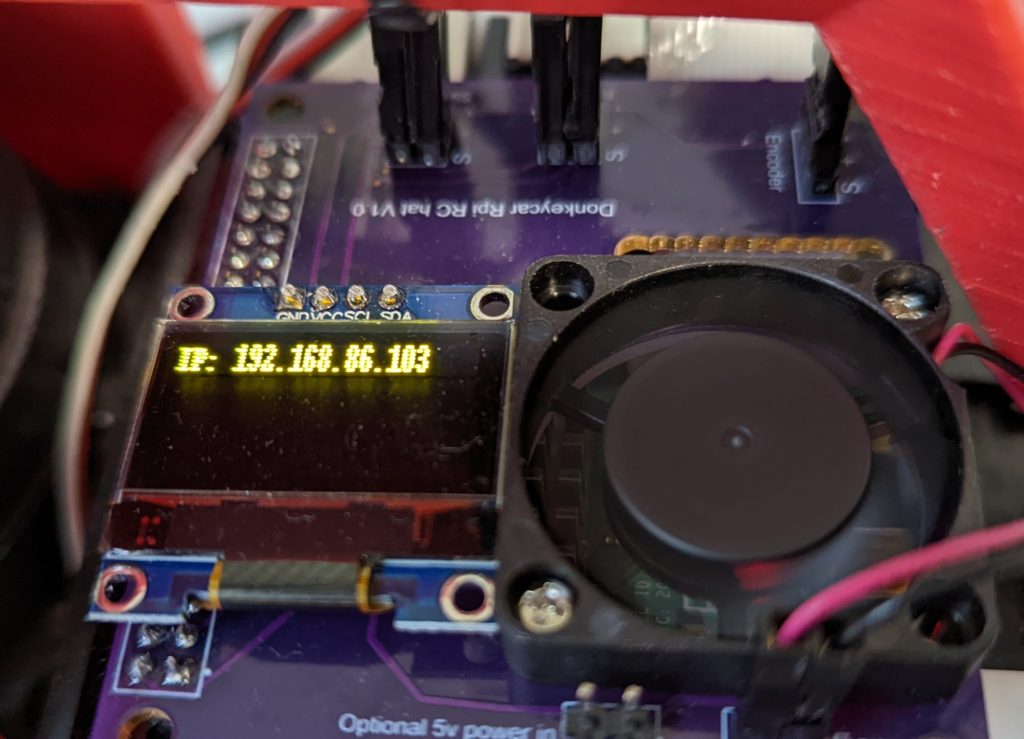
When you run a Raspberry Pi in “headless” configuration without a screen, which is typical for a Donkeycar setup, one of the tricky things is knowing what IP address it has been assigned by your Wifi network, so you can connect to it. If you control your own network, you may be able to see it in your network control app, shown in a list of connected devices. But if you don’t control your own network, such as the races we run at Circuit Launch, it’s hard to figure out which Raspberry Pi on the network is yours.
So what you need is a screen that shows you your IP address on startup. This is harder than it should be, in part because of changing startup behavior in various different kinds of Linux and generations of Raspian, and I wrote a post last year on how to do it with a simple LED screen.
Now we’re standardizing on smaller, more modern color OLED screens. So this is an update to show how to use them to show your IP address on startup.
Update: All too typically, after I write this code myself I find that there’s a perfectly good repo already out there that does the same thing by slightly different means. So check that one out and use whichever you prefer.
Note: In the picture above, I’m using the custom Donkeycar RC hat (coming soon to the Donkey Store), which has a built-in OLED screen. But if you don’t have that, you can connect your OLED screen directly with jumper cables as per this tutorial.
Step 1: Install Adafruit’s Circuit Python OLED library. If your Pi boots into a Conda environment, exit that (conda deactivate), then install the library with pip: pip install adafruit-circuitpython-ssd1306
Step 2: Copy this Python file to your top level user directory (probably /home/pi/)
Step 3: Set it to run at startup. Type crontab -e and then select the editor you prefer (I use Nano). Then add @reboot python3 /home/pi/oled_ip.py to the bottom of the file. Then save it and exit the editor (control-o, control-x).
