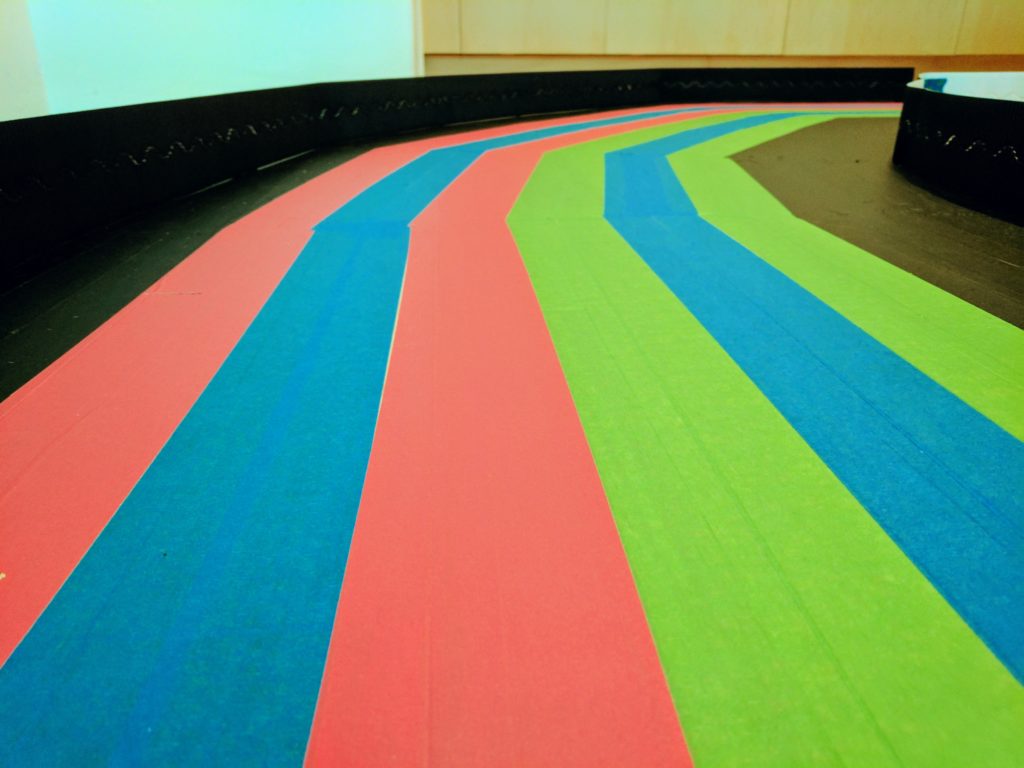
What a RGB track looks like from the car perspective (which is what matters!):
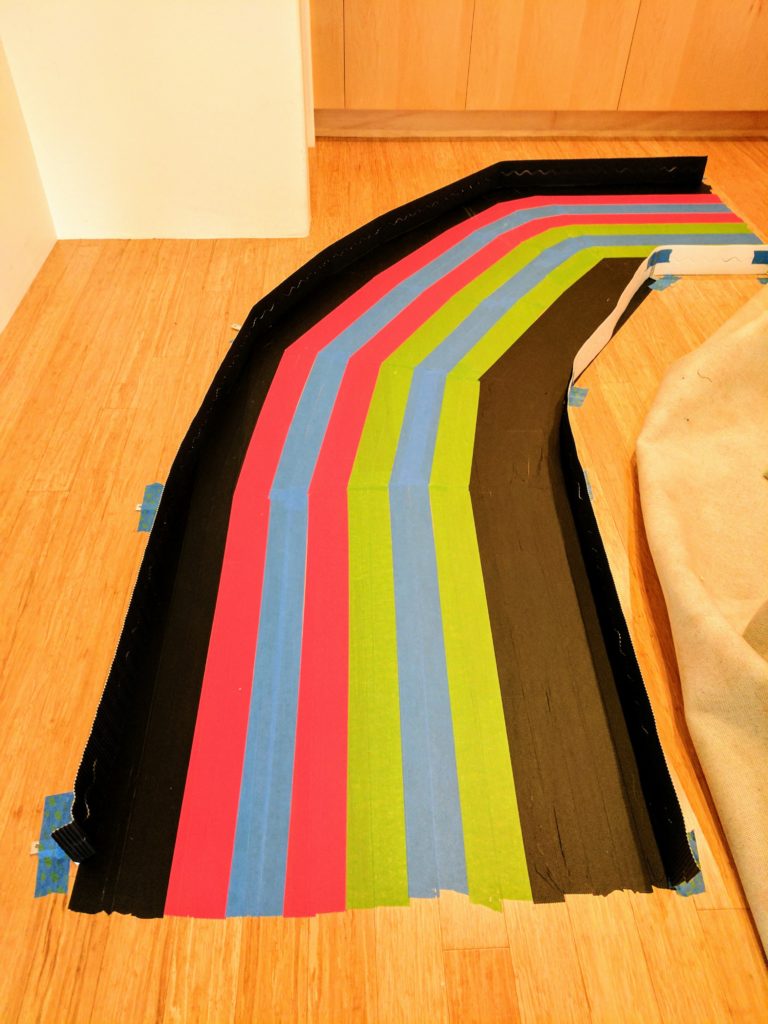
Here are instructions for setting up a version of a classic RGB track in your basement for just a few dollars with tape and cardboard that you can get at the craft store or Amazon. You don’t need a lot of room — in the example here I’ve just created a section of the track, which is enough to test the basic lane following and curves. You also don’t need so many lanes – start with just a few and add more only if you need them
Materials needed
2″ Gaffers tape (one roll of each is plenty):
- Red
- Green
- Blue
- Black (optional, only if you want to really make sure your car never fails to detect the edge)
4″ wide roll of black corrugated paper:
This one has a scalloped cut in the middle, but just tape the two sides together every foot or so and treat it like one strip. Otherwise, you can cut the strips from a bigger roll, like this one.
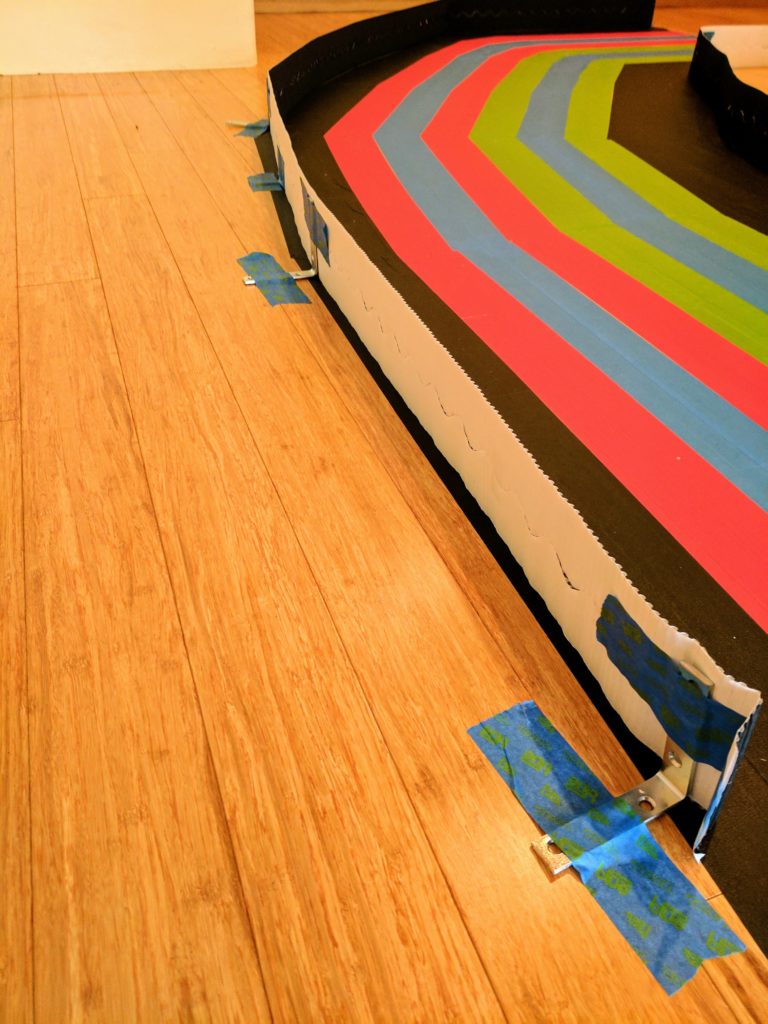
Some corner braces:
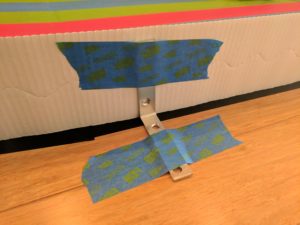
These are to hold up the corrugated paper walls (any size brace from 2″ to 4″ will do). You need a brace every two feet or so; just tape them to the floor and to the corrugated paper. You can get packs of 4 from the hardware store for about $5 or on Amazon. For larger tracks, you can find them in batches of 40 on eBay pretty cheaply.
Tips:
- I lay out the track on the bare floor, under where a carpet usually goes. That way I can just remove the track walls and roll the carpet back over the lanes, so nobody can see them and I don’t have to lay it out again next time I need it.
- If you’re doing this on bare concrete or a dirty floor, consider substituting duct tape for the paper painters or gaffers tape. It sticks better and you don’t have to worry about it leaving a residue when you remove it.
- Lighting is important for computer vision! Try to lay out the track in a place where you can get consistent lighting. Good artificial lighting is better than sunlight that comes and goes.