
One of the most useful sensors to add to an autonomous car (after the camera) is an encoder. This “closes the loop” of motor control, giving you feedback on what actually happens when you send a speed command to the motor (the speed the motor actually turns can depend on a lot of things, from the battery voltage to the increased load on the motor going uphill, etc).
In a perfect world we’d have an encoder on each wheel, showing the actual rotation of each tire, which, slippage aside, should perfectly correlated to speed and distance traveled. But it’s too hard to retrofit most RC cars to add encoders on each wheel, so this post will show you how to do it the easy way, with a single encoder on the motor. That will at least give you motor speed feedback and since that shaft is distributed to all the wheels, it averages out quite close to car speed and distance.
We’re going to be using “quadrature” encoders, which know the difference between forwards and backwards rotation and are easily read by a simple microcontroller. I’ll offer two alternatives that work the same, although one is cheaper (albeit larger) than the other.
I won’t be going into how to use this encoder information in your robocar, since it depends a lot on which software stack you’re using (Donkeycar, Jetracer, etc). That will wait for the next post. This one is just for the mechanical and electrical installation.
As you can see from the photo above, the standard Donkey chassis (the Exceed Magnet) has space to put the encoder above the motor where there is a large drive gear that is easily accessible.
Your choices are pretty simple. The cheaper encoder below is bigger (38mm diameter) and weighs a bit more. The more expensive one is smaller (25mm diameter) and proportionately lighter. My picture above shows the smaller one, which is a slightly neater installation, but if you want to save a bit of money the larger one works just as well.
You’ll also want a microcontroller to read the encoder data, which is easier to do on something like an Arduino than it is on a Linux computer like a RaspberryPi or Jetson Nano. I use a Teensy LC for that, which is faster than a stock Arduino and nicely small. You can buy that from many places, such as PJRC ($11.65) or Amazon ($15.26). But any Arduino-compatible microcontroller will do, such as the Adafruit Feather series or an Arduino Mini.
If you have a 3D printer, you can download the files for the mount and gear below. Or if you don’t, you can order them from the same link.
| Cost | Encoder | Mount | Gear |
| $15.99 (plus $10 for 3D printing if you don’t have your own printer) |  Amazon (get 200 PPR resolution) | 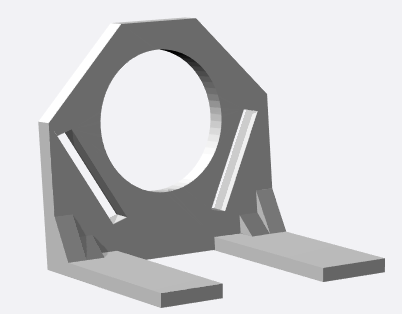 Shapeways | 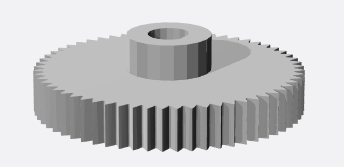 Shapeways |
| $44.95 (plus $10 for 3D printing if you don’t have your own printer) | 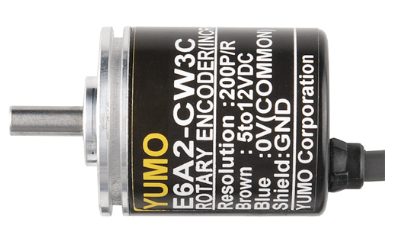 Sparkfun |  Shapeways | 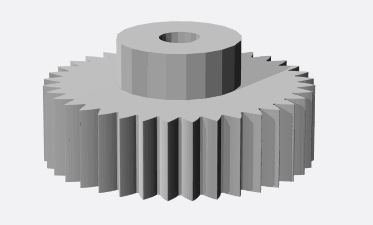 Shapeways |
Just screw the encoder on the mount, press the gear on to the shaft, and position the encoder as shown above so that the gear seats nicely on the motor gear and turns with it, without slipping. You can glue the mount on the car chassis shelf when you have the right position.
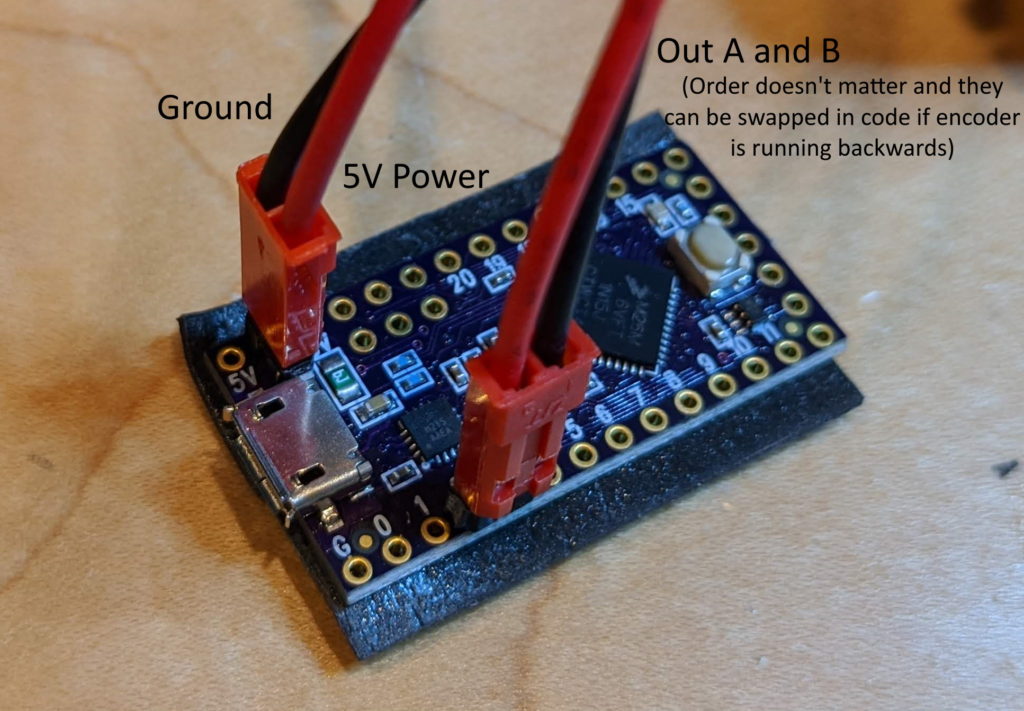
Once you have the encoder in place, solder pins on the the Teensy board in the pins shown below (USB V+ and Gnd and Pins 2 and 3), cut the encoder wires to the desired length and splice female connector of any sort to them as shown. On the smaller encoder, there is a fifth wire (orange, called “Output Z”) that can be cut off and ignored.
On the Teensy (or any Arduino), you can run the standard Arduino encoder library to test the encoders. Just search for it in the Arduino Library Manager and install it. From the Arduino Examples menu, select the Encoder/Basic example and edit it to reflect the pins you’re actually using:
Encoder myEnc(2, 3);Now you’re up and running! You should be able to open the Serial Terminal (9600 baud) in the Arduino IDE and see the values streaming as you turn the encoder. To use this with your robocar code, you’ll want to plug the Teensy/Arduino into your main car computer’s USB port with a short cable, where it should show us as a serial port. You can can then read the encoder values over serial and use them as you see fit.
More details on how to do that with the next post.
Why aren’t optical mouse sensors being used to track distance traveled? Even the encoders in the mice with mouse balls were dirt cheap – simply being an LED and a sensor. An encoder seems useful for things like ABS or traction control, where you need to know how much each wheel is turning. For determining velocity it seems like overkill.
They’re very inaccurate beyond a few cm